Step by Step Ink and Stain Drawing
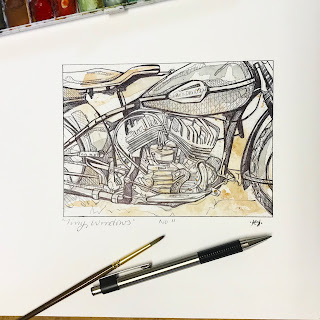
This is a brief step by step instructional on creating an ink drawing done with a method that I have enjoyed since college. I used stained paper because I feel it add a depth that brings the drawing to life. It also adds a subtle movement to the piece that allows the eye to travel through the piece by the organic shapes.
So let’s get to it. First I lay out several pieces of paper on a surface that I don’t mind getting dirty or that has an easy clean up. Here are 6 sheets of paper on my garage floor. Only about 3 or 4 pieces of this paper will be able to be used as the method is pretty random and the pattern in which the stain is laid down may not meld to the subject.
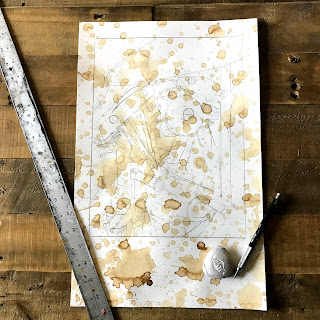
Next I grab some cold coffee and go Jackson Pollock on the pieces. This is the funnest part all the splattering and flicking and rolling. I also press the pieces together to flatten out some of the splatter.
After the pieces have fully dried it is time to line the the drawing platform and sketch out the composition using a graphite pencil. Some of these lines will remain showing in the final drawing which I feels adds yet another layer to make the piece feel alive.
Before moving to the ink I take a water color brush to fade some of the stain and remove some of the raised areas to make the ink going on more smoothly.
Lastly I use a zebra ball point pen to do the ink work. I use them because they write so smoothly and you can really get a delicate, animated line. I line and shade and stair and line and shade some more, but most of my attention does to the varying thickness to the line. I remember in art school a professor talking about how the thin and thick can really make the line beautiful and I suppose it is something I really attached to. At this point you can also add a little watercolor to push the subject forward.
The final touch is the small detail of the signature which I typically choose, like so many, to place in the lower right corner.
Thank you for joining me and if you have any technique questions please feel free to comment below or shoot an email to InfernoArtStudio@gmail.com
Instagram : KaylaInfernoArt


Comments
Post a Comment